
Create Your Own Parrot Thorans
Turn simple eco-friendly ornaments into a hanging decoration made entirely by you.
Choose your ornaments, arrange them in any order, and create a Parrot Thorans that reflects your creativity.
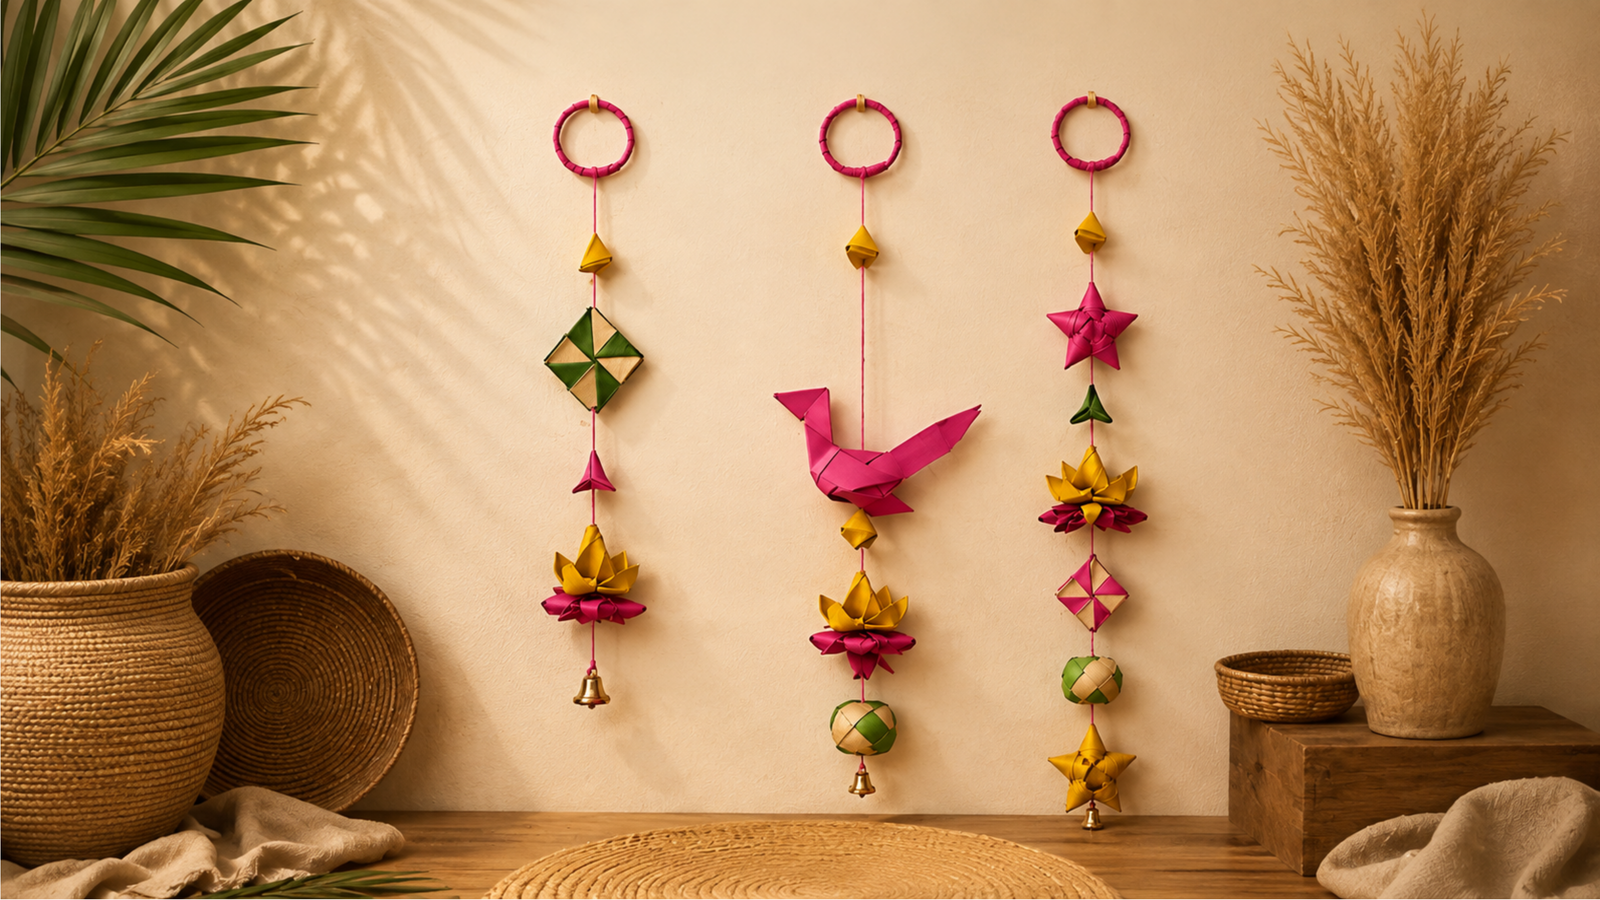
One finished Parrot Thorans, shown for reference — yours can look completely different.
🌿 Your Parrot Thorans. Your Creativity.
There is no fixed design for this kit. The examples shown here are only inspiration. Choose any ornament, place them in any order, mix colors and patterns, and create whatever you want.
What’s Inside the Kit
Everything you need to build a Parrot Thorans that’s completely your own.
Thread
The base of your Parrot Thorans — strong and gentle on the ornaments.
Bell
Ties on first, so your Parrot Thorans rings softly as it moves.
Needle
Makes it easy to pass thread through every ornament.
Ring
The finishing touch — your Parrot Thorans' hanging point.
Ornaments
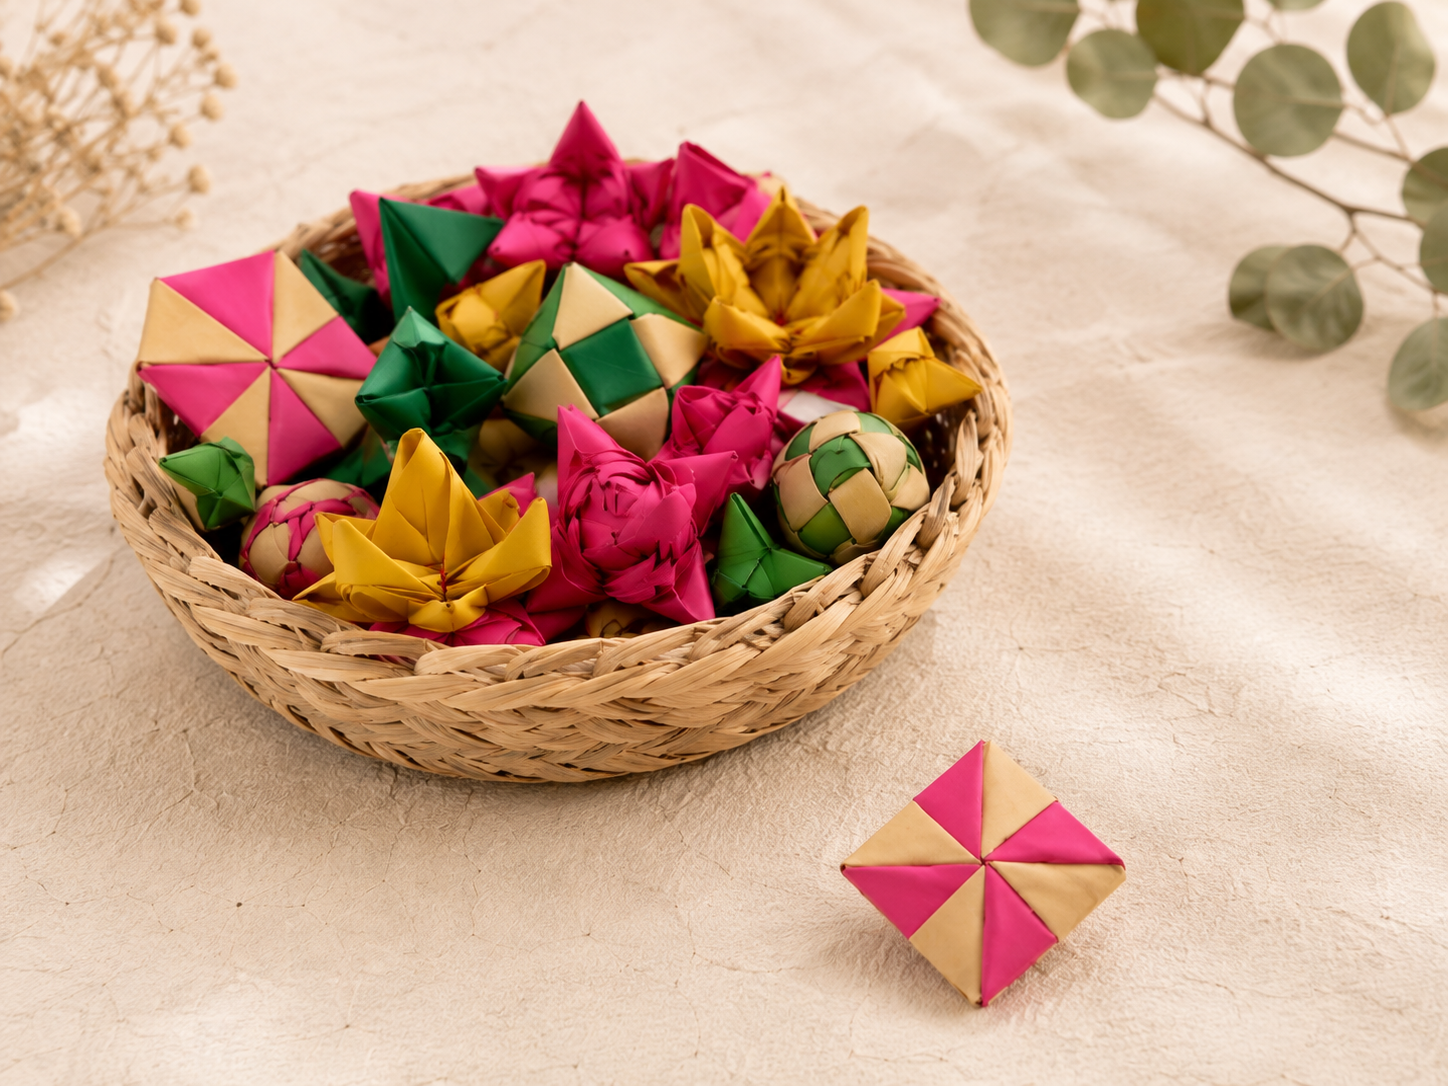
Multiple handmade eco-friendly designs — pick any, in any amount.
Let’s Begin
Six simple moves. The pieces are set — the pattern is entirely yours.
- STEP 01
Start with the Bell
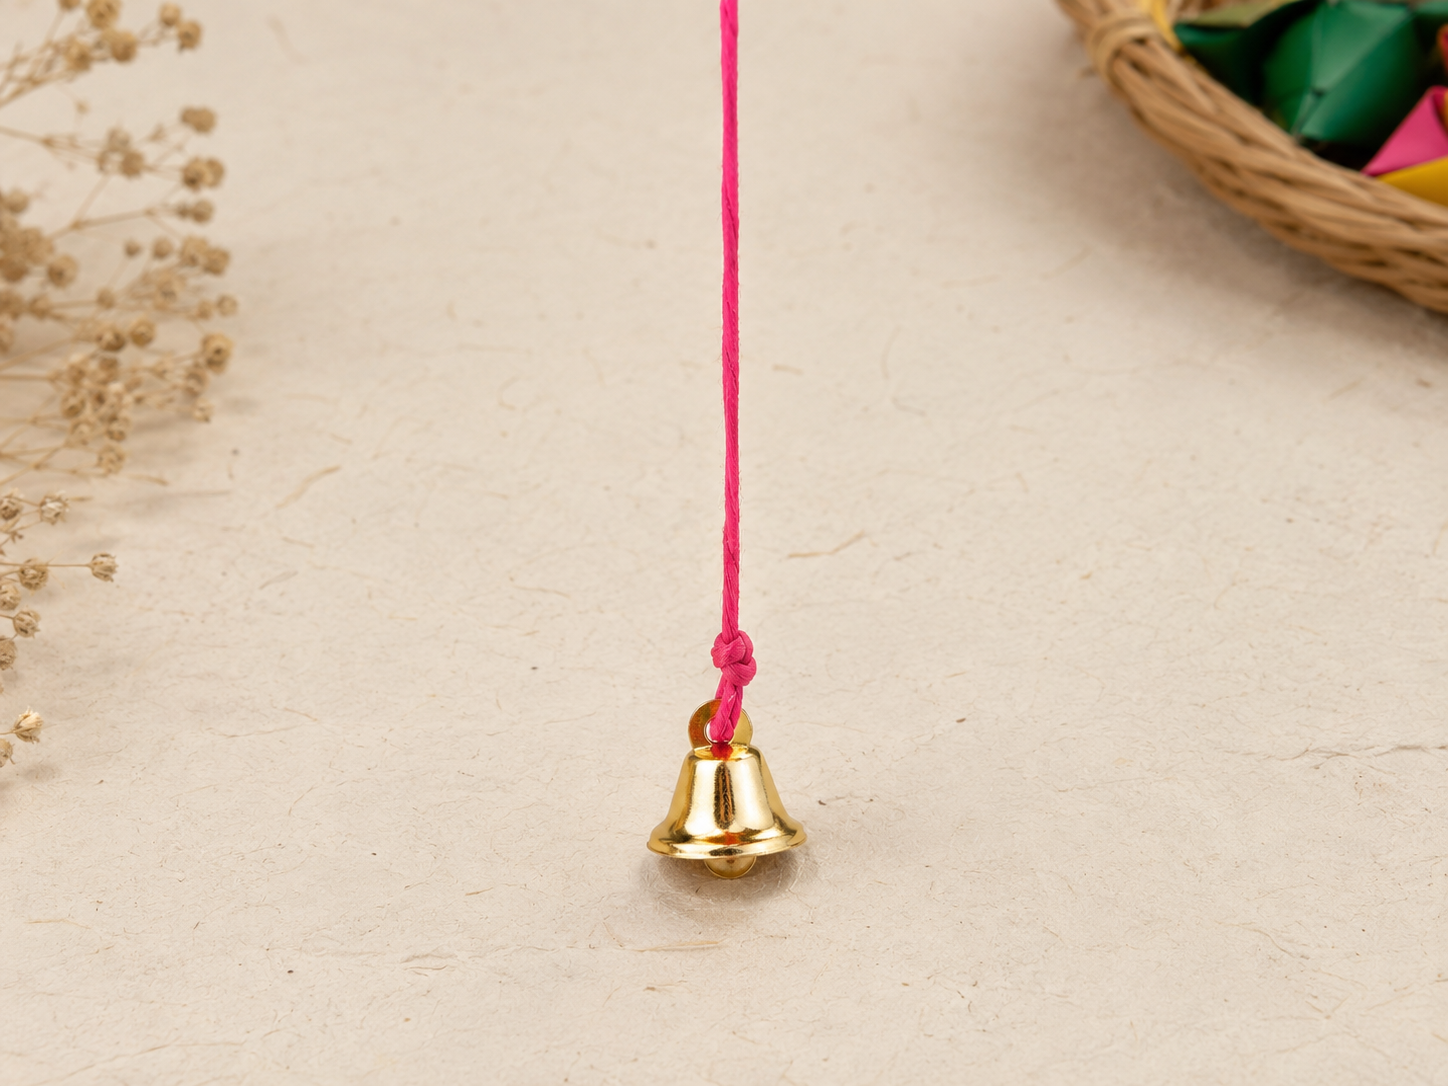
Take the thread provided in the kit and securely tie one end of the thread to the small bell.
lightbulbMake sure the knot is firm so the bell stays securely attached at the bottom of the Parrot Thorans.
 STEP 02
Connect the Needle
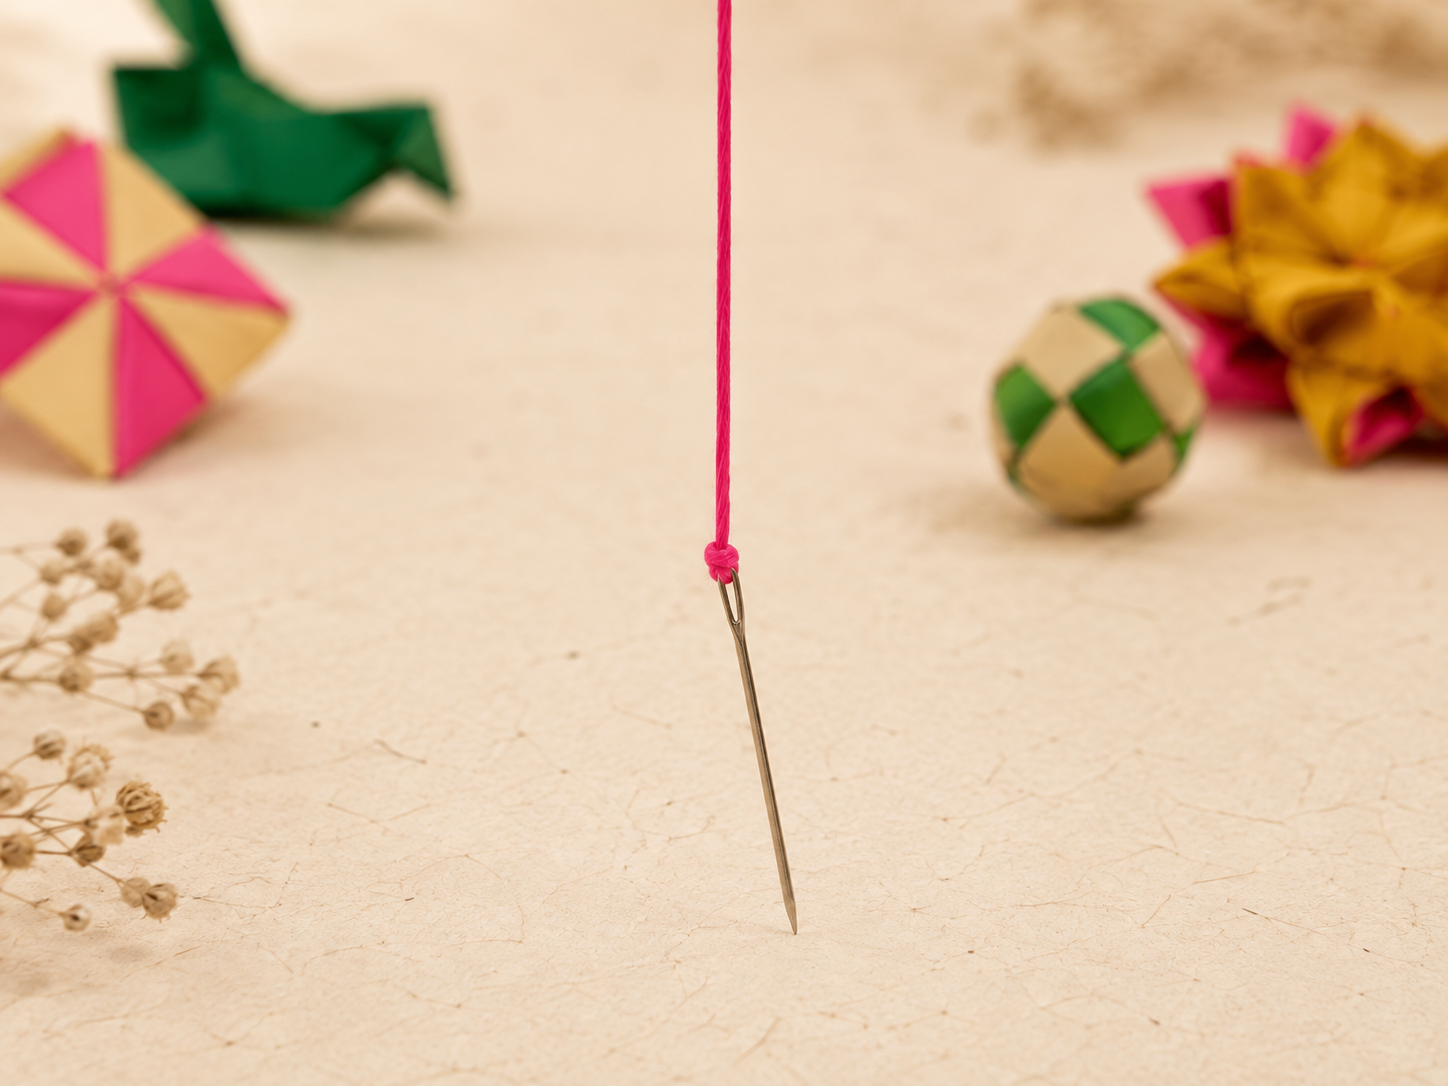
Take the needle provided with the kit and attach it to the free end of the thread.
The needle makes it easier to pass the thread through the ornaments.
warningHandle the needle carefully. Adult supervision is recommended when children are using the kit.
- STEP 03
Choose Your First Ornament
Pick any ornament from the kit. There is no required starting ornament.
Choose based on the color, shape, size, pattern, or simply whichever ornament you like.
Pass the needle and thread through the ornament.
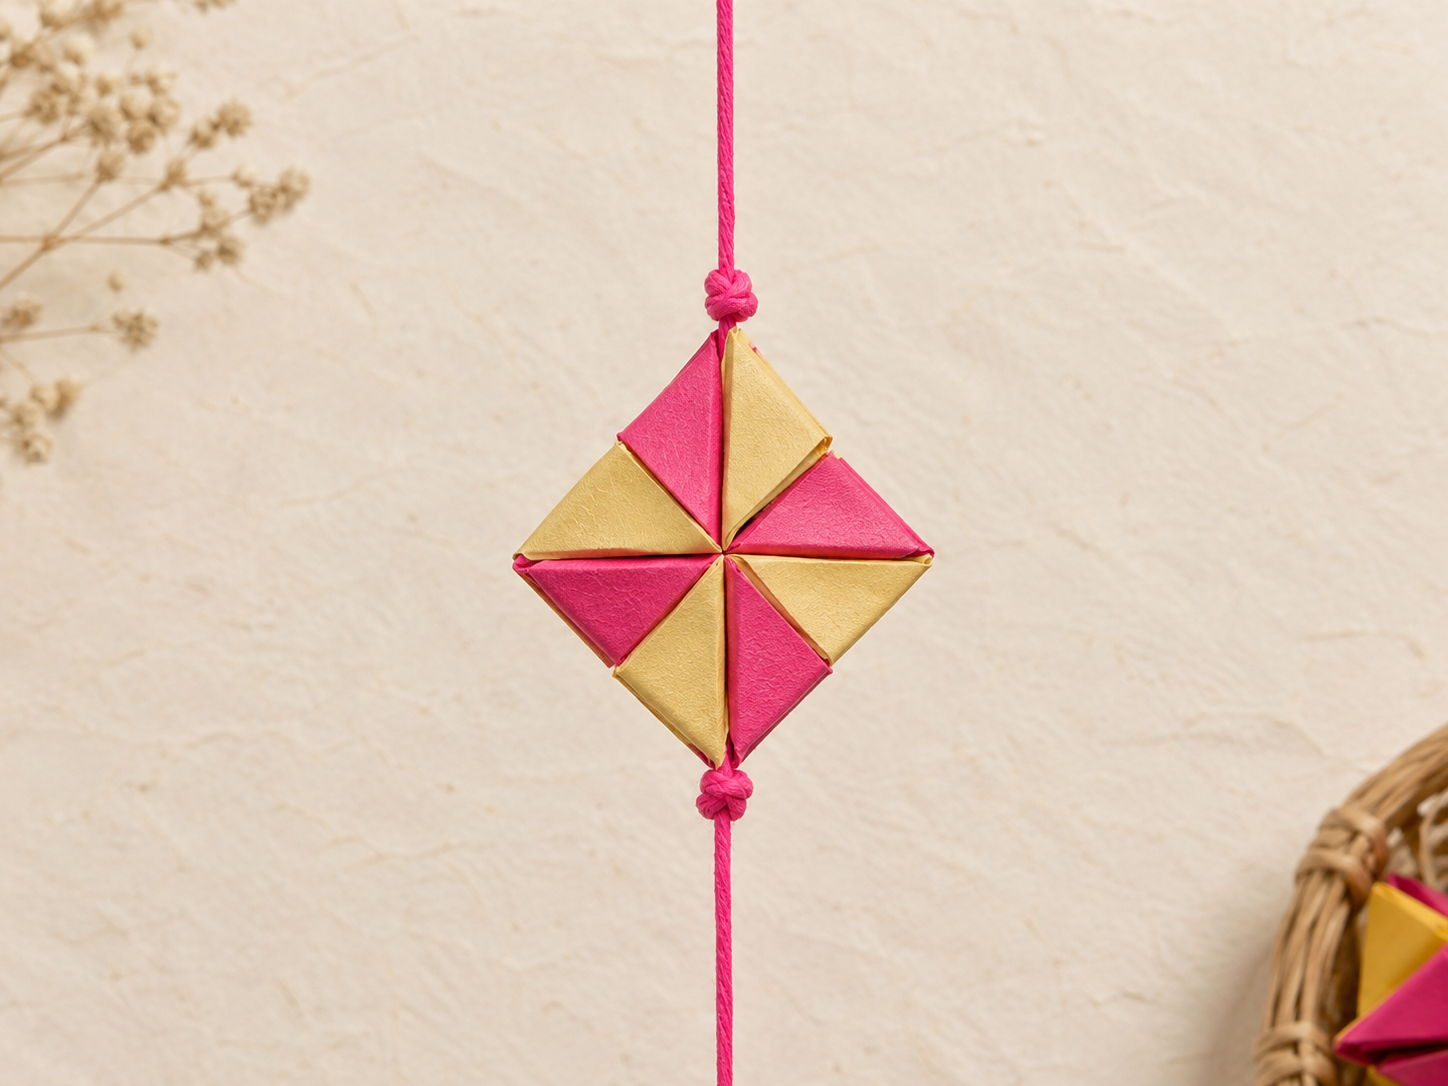 STEP 04
Tie a Hold Before and After
Create a small knot or hold in the thread before placing the ornament in position.
After the ornament is placed, tie another small knot or hold in the thread.
These small holds keep the ornament from sliding and help maintain the spacing between pieces.
Repeat this process for every ornament you add.
- STEP 05
Mix, Match & Create
Choose any ornament from the kit and continue adding pieces to your Parrot Thorans.
Mix different colors, change the order, repeat ornaments, combine shapes, adjust spacing — keep it simple or make it richly decorative.
You do not have to copy the example shown in this manual. The examples are only inspiration — let your creativity decide the final design.
There are no rules.
There are no rules.
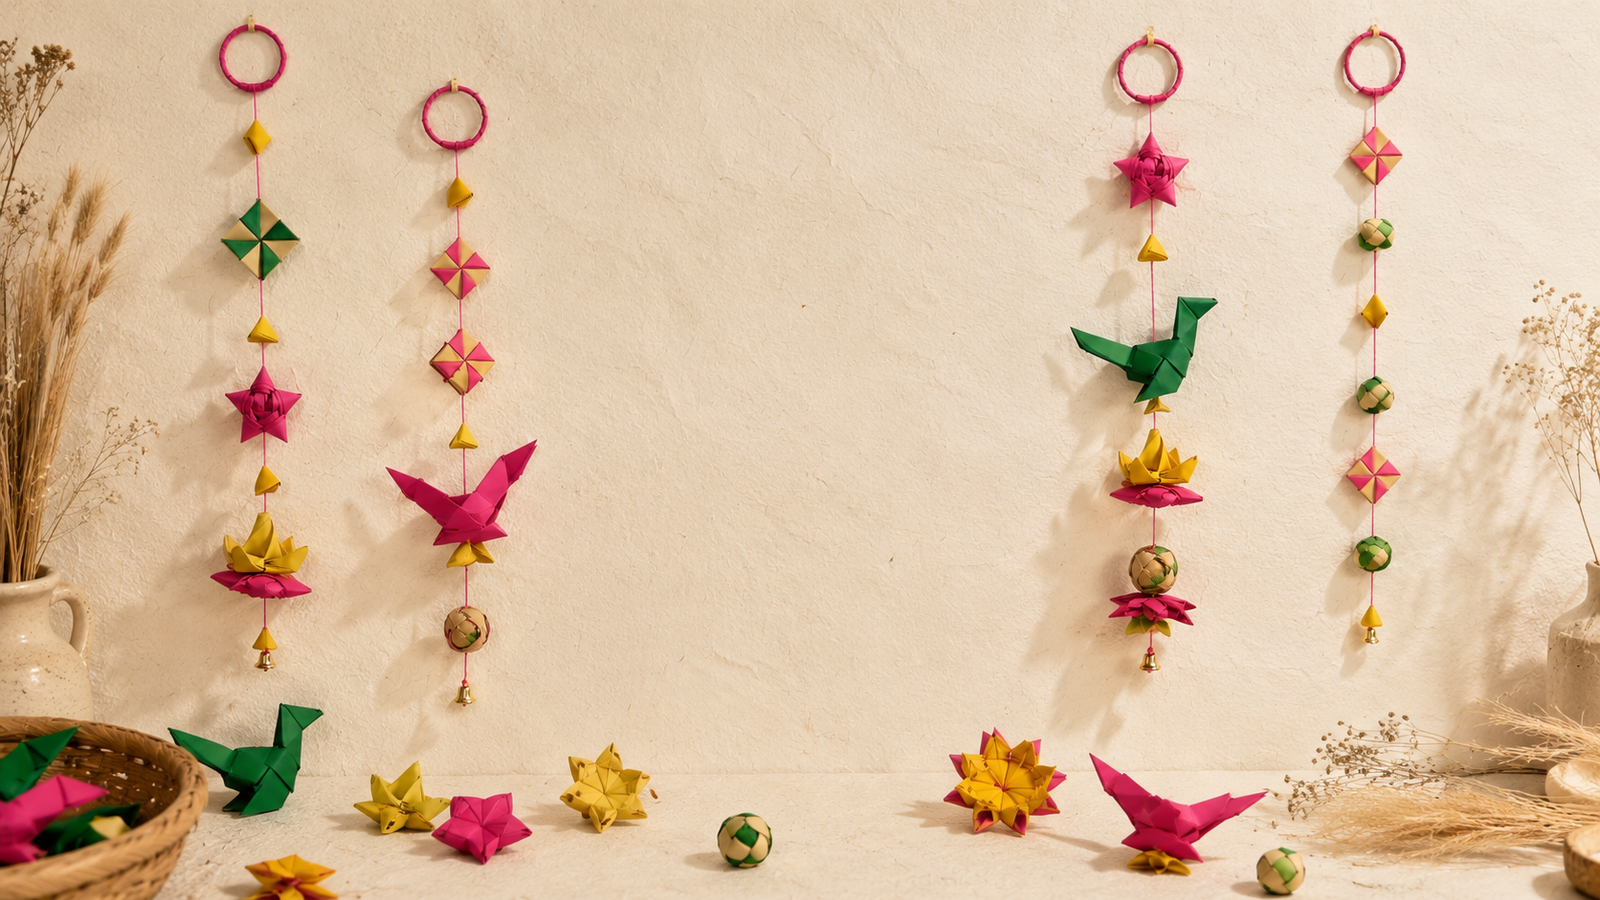
Four Parrot Thorans, one kit — every one of these came from the same set of pieces. 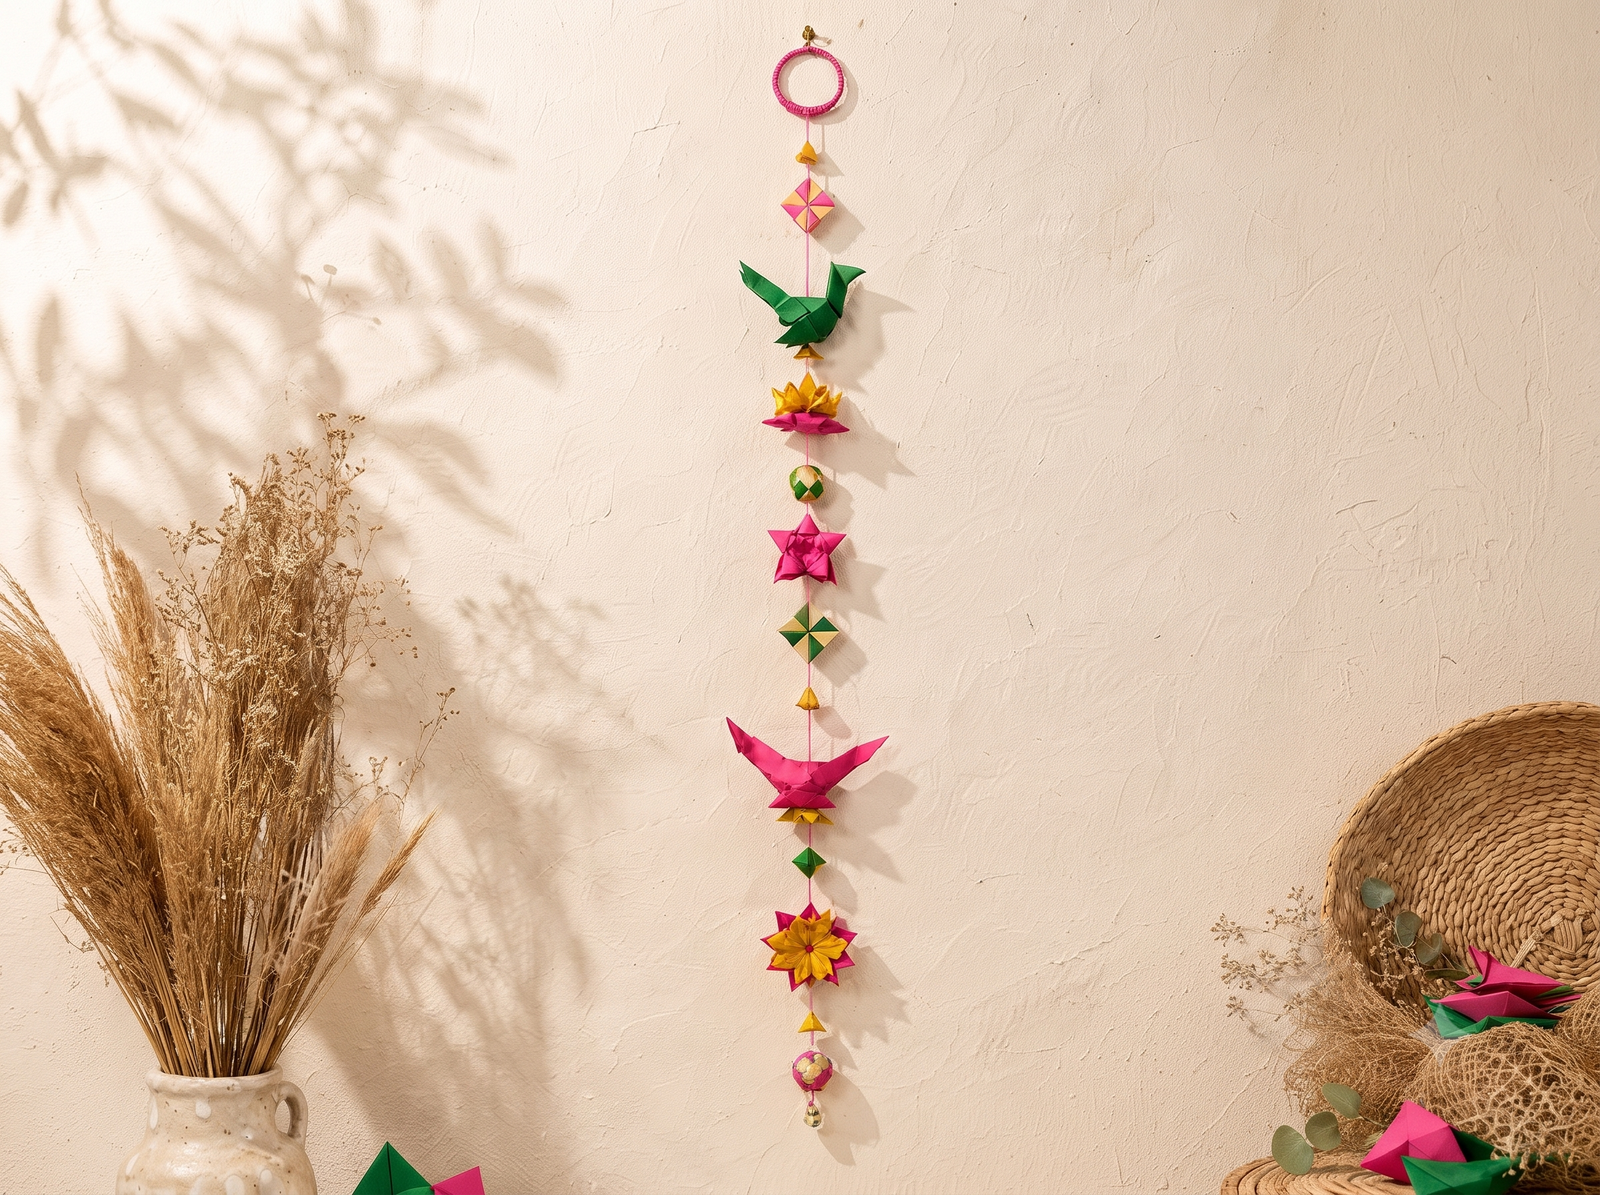 STEP 06
Finish with the Ring
Once you are happy with your Parrot Thorans, remove the needle.
Take the free end of the thread and securely tie it to the ring provided in the kit.
The ring becomes the top hanging point of your finished Parrot Thorans.
✨ Your DIY - Parrot Thorans Is Ready!
You created it. Now find the perfect place to hang it and enjoy your handmade eco-friendly decoration.
Made by you. Designed by you.
Every Parrot Thorans can be different — and that’s the beauty of it.
Choose Your Parrot Thorans Length
Three thread lengths give you more or less room to build — not a different design.
Short Parrot Thorans
Perfect for a compact hanging decoration.
Medium Parrot Thorans
Gives you more space to experiment with your design.
Long Parrot Thorans
Gives you extra room to create a longer decorative hanging.
The number of ornaments is not fixed. The final number depends on the thread length, ornament size, spacing, and your chosen design.
Before you begin — one last reminder
Ready to make it yours?
Let your creativity decide the final design — there’s no wrong way to build it.